Mar 23rd 2021
7 Features You Should Be Using
The new iPhone 12 camera features make it super simple to take amazing photographs with a simple tap. However, it’s always a good idea to familiarize yourself with the camera you’re working with to ensure amazing results — even a phone’s. Here are just some of the top features to test out on the iPhone 12 to up your photography.

1. External Shots
The iPhone 12 has three cameras on the back to capture a subject best, and you can switch between them as needed. “Photo” mode is its default, but it also gives you the choice of checking your framing with all three cameras.
Here's how to check your framing for external shots:
- Put the camera in landscape or portrait mode, depending on the subject you’re intending to shoot.
- Now zoom in beyond 0.7x and the screen will show the area you are shooting, as well as darkened areas out of the screen.
- Determine the best way to frame the shot based on what you see on the screen.

2. HDR
HDR stands for High Dynamic Range and it allows your phone to take multiple photos, each with a different setting. From there, the camera blends the images together to create a higher quality image.
To use the HDR feature, you just need to tap the HDR option at the top right of the phone screen to turn it on. Now you can take your picture and it will immediately pop more than a regular photo.
3. Time-Lapse Mode
If you’ve ever admired a time-lapse video before, you know just how powerful it can be. Shoot the sky as the stars or sun move across it, yourself as you cook or clean, or even a flower growing. This feature works best when the camera is consistently in the same position throughout the video. A tripod will help keep your phone steady for a clear shot.
Select “Time-Lapse” under the viewfinder, and your iPhone will capture stunning video.
Pro tip: Tap the chevron at the top of the viewfinder to adjust the exposure.

4. Fast Volume Snaps
Did you know you can use the volume buttons while in camera mode? Just press either button and the camera will snap a photo. This can be very handy when you’re in a hurry and don’t want to take the time to position the phone so you can press the screen. This allows you to hold the phone comfortably and shoot with a simple squeeze.
Bonus tip: If you press and hold a volume button, you’ll record video for as long as you’re holding the button.

5. Aspect Ratio
If you’re looking to avoid long images that are so obviously taken by a phone, you’ll appreciate the aspect ratio option. At the top of the camera screen, you’ll see a carrot icon, and tapping this will let you pick the aspect ratio or shape of the image you take. You can opt for 4:3, 16:9, or 1:1. Choosing a different ratio aspect will give you a very different look in your photos.

6. Switch Cameras
The three cameras on the back of the iPhone 12 Pro and Pro Max (iPhone 12 and iPhone 12 mini have only 2 cameras) each offer a different perspective. One is regular and you also get an ultra-wide or wide-angle lens.
- Ultra-wide is best when shooting a subject up-close because it emphasizes what's going on in the foreground.
- Wide-angle is best when you want to capture as much in the shot as possible. (For example, a sweeping landscape or city skyline.)
With both options, you simply zoom in or out by pinching the screen, then adjusting the dial that appears. Zooming out to 0.5x will automatically switch to the ultra-wide lens. On the three camera models, you also have a tele mode, which allows you to zoom in up to 10x zoom.

7. Deep Fusion
Deep Fusion is a proprietary photo enhancer that previously could be used only with the wide lens option. However now, it works on the back-facing camera for selfies, as well as the other front cameras. You’ll immediately get better photos simply by turning this on, as it automatically enhances the image. You can turn this on in your iPhone 12’s camera settings.
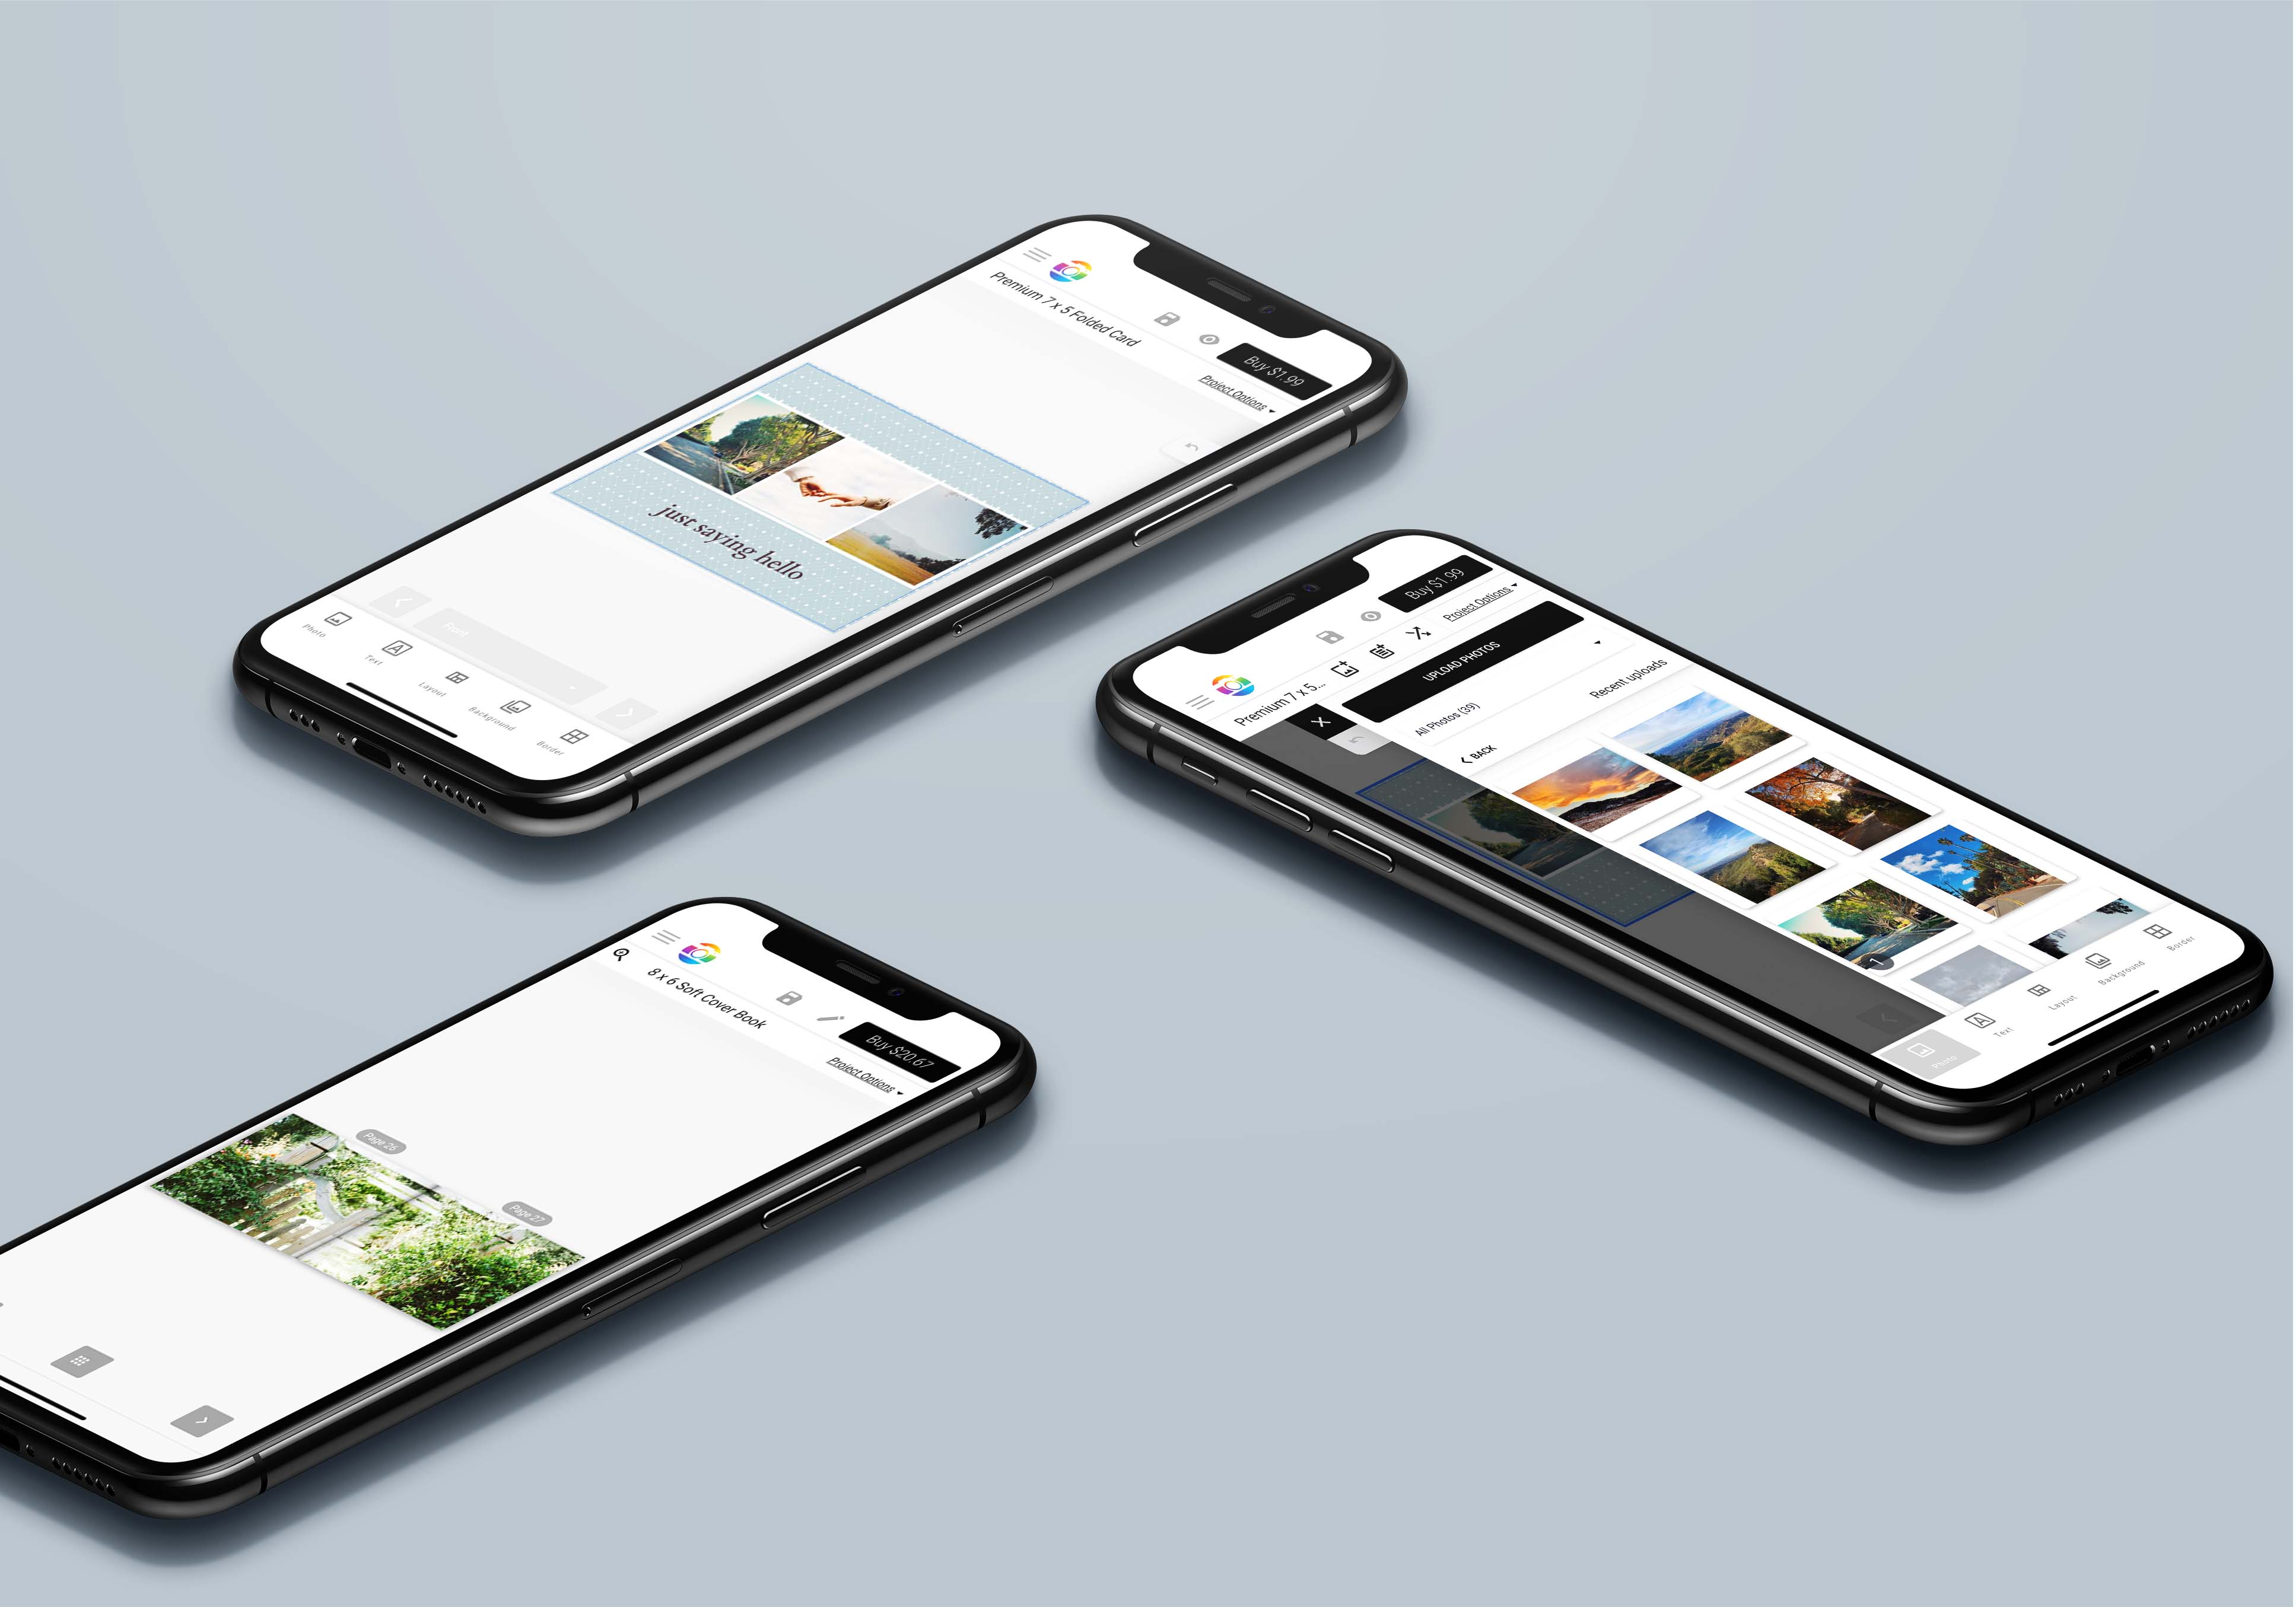
Place Them Into Print with Our iOS App
With so many new and exciting features to play with on the iPhone 12, you should be able to take some pretty incredible photos with your camera. Experiment with these features and see what works best. When you’re ready, download our app for iPhone and iPad to turn your digital snapshots into a beautiful work of printed art.