May 15th 2020
Anyone can put together their own DIY photobook, but it takes some design skill to make yours unique. You don't have to graduate from design school to know those tricks. All you need is a little creativity and some thoughtful planning.
Here are some key design elements to consider when making your own photobook:
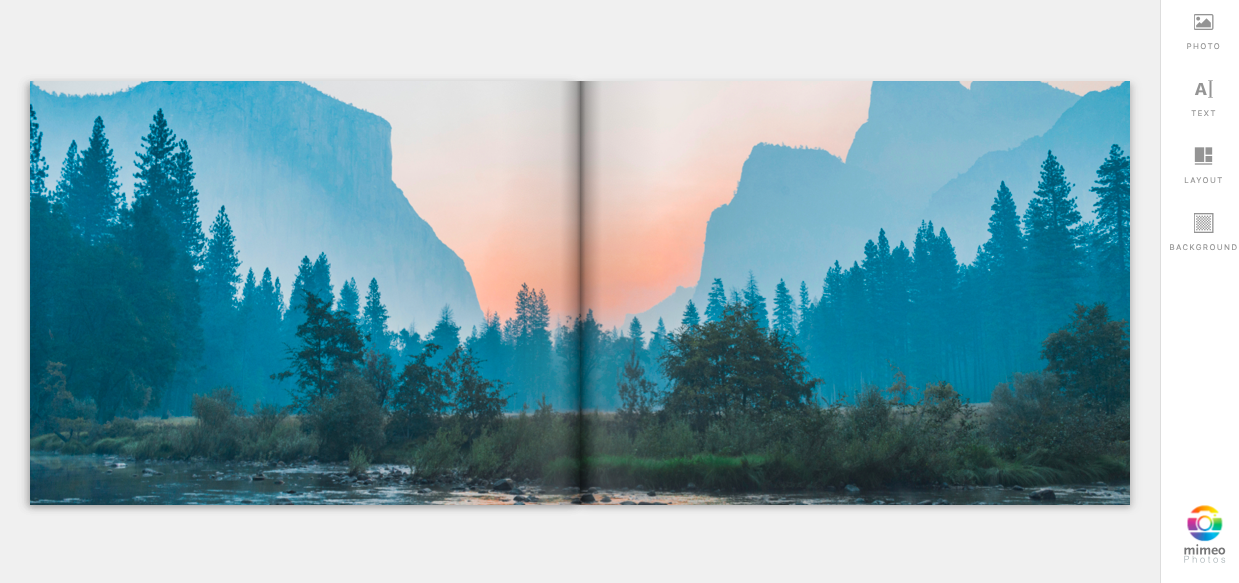
1. Try Two-Page Spreads for Panorama Photos
If you have selected panoramic photos and would like to include them in your album, don't get stuck with using only a single page. Choose a book layout that has a panorama option, or use a two-page spread for an elongated effect.
You want to guide the viewer's eye so that it moves along the length of both pages. To make it appealing, consider the rule of thirds: place the horizon on 1/3 of the photo. You can also crop photos in Photoshop or photo editing apps to look better as a panoramic scene.
2. Find Your Focal Point
Where do you want the viewer to focus? Determine this spot before saving your layout. All good compositions have a very strong focal point. This does not have to be in the complete center. You, as the artist, can guide the viewer to where you want their gaze.
Keep in mind that your DIY photobook should be telling a story. And it is up to you to communicate where and how the viewer might experience that story. You can achieve this by displaying one photo on a whole page. Then, complement that focal point with a series of smaller pictures on the opposite page.
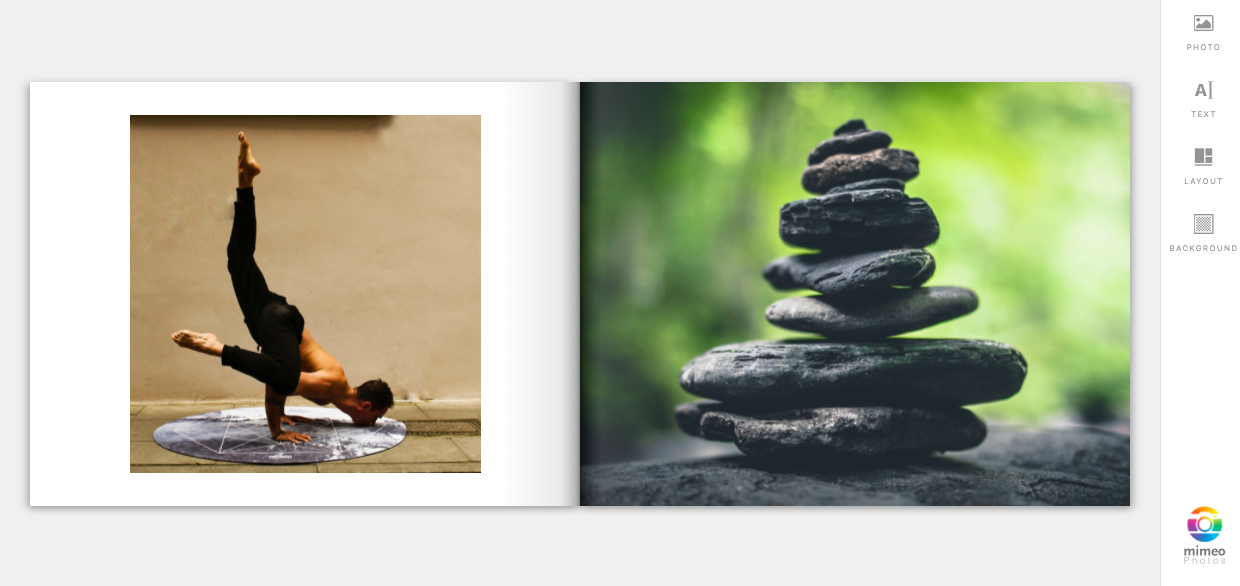
3. Achieve a Strong Sense of Balance
To understand how designers achieve balance, you can think of symmetry. When looking at your DIY photobook, ask yourself, "Do the pictures flow together? Does it feel too heavy or cluttered on any side?"
Take your time to artfully pick and select photos that fit well and look seamless, and tell a more powerful story.
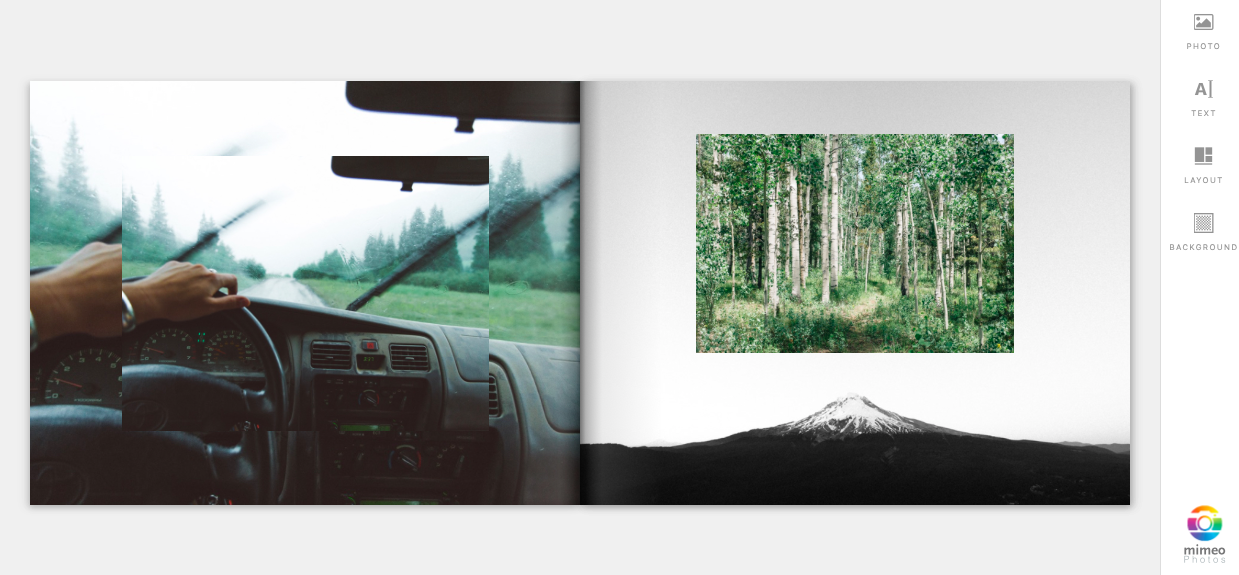
4. Use Sequential Photos as Design Elements
Complementary design elements are what give a composition that balance. Consider this even when you are snapping photos -- whether digital or analog -- for your books later.
If you are taking portraits, have the model or family member pose in different ways. Or, with different expressions. Then use these photos in sequence to tell a story.
Another way you could bring your DIY photobook to life is by telling a story in time-lapse. Show how the day progressed by including photos in chronological order.
Don't hastily piece random pictures together. Select them according to how, when, and where they happened.
5. Go for a Minimalist Feel
Using photos shot in similar styles, or even in black and white, can draw the viewer in to details. If you want your book to be minimalist in design, avoid cluttering a single page with too many photos.Photo frames can have a nice effect but beware of going overboard. Simple horizontal lines can create borders and spaces between photo sequences.
Limit frames to:
- Plain
- White
- Muted colors
Think cool tones:
- Green
- Blues
- Natural shades
Use warmer colors such as reds and oranges sparingly.
6. Harness the Power of White Space
White space doesn't always mean empty space. It is a way to honor the page and your subject by bringing a sense of calm and clarity.
Magazine art designers do this often -- they choose a striking image, and impose it against a white background. They clear up or even erase the original background.
You can emulate this by selecting layouts that showcase your portrait images best.
A clean and sophisticated DIY photobook uses the same theory. If you're going with some text or graphics, keep the font easy to read, and then have a white background. Stay away from harsh black backgrounds with white text (it's straining on the eyes).
7. Discover Your Own Creativity
Another effect that works well is stacking a series of panoramic photos in a sequence. Play with black and whites contrasting colored photos for this effect. Remember, the rules above are simply a guide.
The white space in a DIY photobook can then also be used for handwritten notes, poems, or anything you may want to write on that page. Dates, times, location, and specific memories of the event, for example.
At the end of the day, only you can make your own DIY photobook unique. Don't forget your sense of fun when creating these lasting memories. Stay curious about what appeals to you. Look at online sites, magazines, or coffee table books for design inspiration, and then go and create your best work.
Digital printing has never been easier. And while you may have thousands of photos stored on your smartphones, there's something special about a printed photobook to display all your best memories.