Oct 12th 2018
Need an invitation for an event? Why not use your iPhone to make personalized photo invitations? It’s simpler than you would expect and you can get your invitations done up in no time.
Step 1: Take Amazing Photos
You should always aim for high-quality photos. Your iPhone is capable of taking great pictures, but there are a few ways to make sure you get the best quality images possible.
Use natural light: Avoid using your flash and shoot your photos outdoors or near windows. If you need more illumination, try placing a white sheet or piece of board on the other side of your subject to bounce light back.
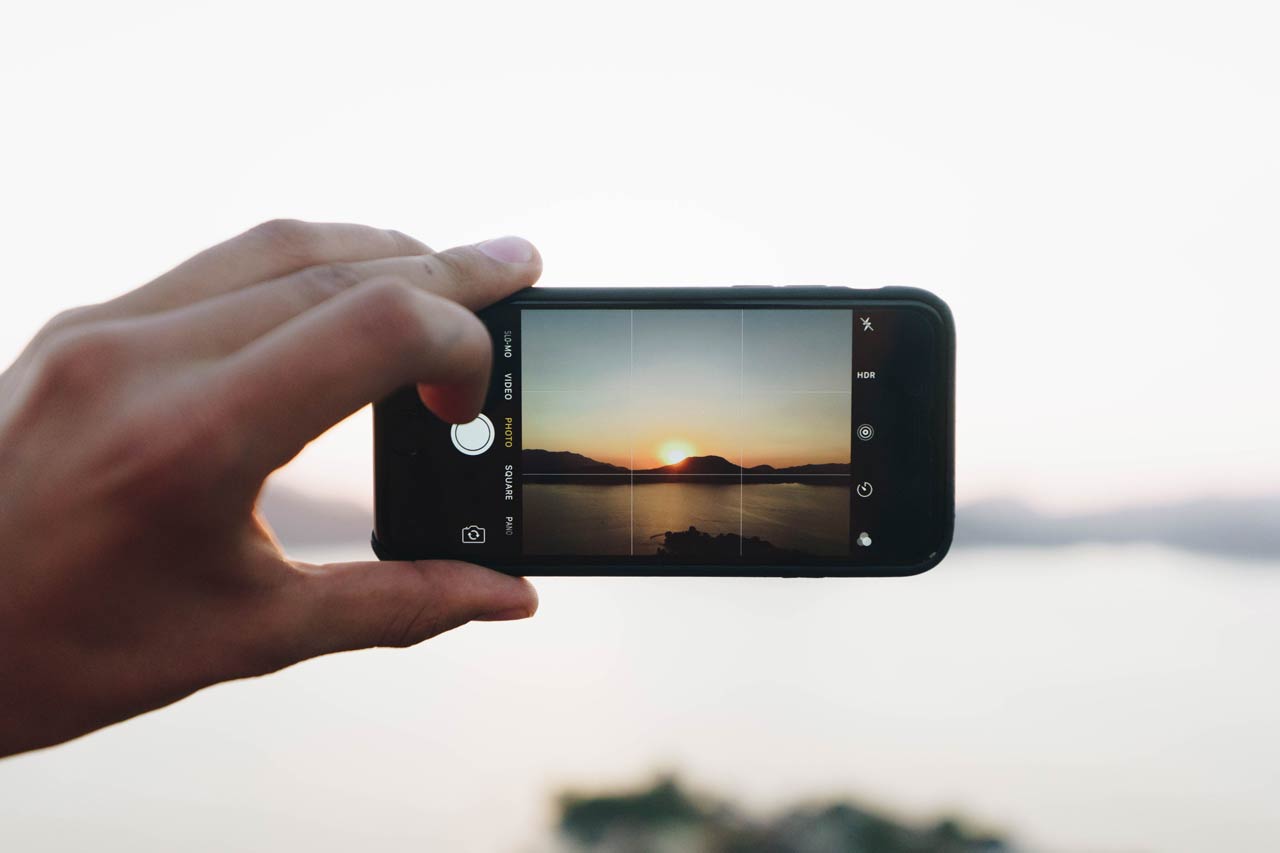
Know the rule of thirds: If you don’t have the grid option turned on in your iPhone camera:
- Go to Settings
- Tap Photos & Camera
- Enable the Grid switch
Ideally, your photo subject will appear on one of the crossed lines. The rule of thirds says that people find images with off-center focuses more interesting.
Use the volume button: When you go to tap the shutter button on the iPhone screen, you’ll notice that the phone tends to shake a little. It can cause blurred photos. Using the volume button allows you to keep the phone very still while you take the photo.
Take some extra photos: Don’t get caught up in the usual portraits used for invitations. You can take some snapshots of other things, like baby feet or a rattle for a baby shower invitation. For a wedding invitation, try a shot of the bride and groom holding hands with a close up on their hands. Get creative and you’ll end up with a better final product.
Use depth of field: High-end cameras have lenses that help the photographer focus on one area of the photo. While you may not have a lens, your iPhone can imitate this depth of field by focusing on a specific area and letting others get out of focus. Just tap your screen on the spot you want to focus on. You’ll instantly get professional results. With later models, like the iPhoneX, use Portrait mode to automatically get the depth of field, even on selfies.
Make sure you practice with your phone and take plenty of pictures. You can pick and choose from your favorites later on. While these are for invitations, there’s nothing saying you can’t hang the best ones on the wall.

Step 2: Edit Your Invitations
The next step is to turn your photos into something extra special. iPhone apps like these can help you edit your photos. Fix any wonky perspectives and enhance the color. Once you are happy with the images you have, it’s time to turn them into an invitation.
You can choose to go with a simple photo on the front of the invite and include the event information on the back or get more complicated. To add elements, like shapes and lines, Canva is a good choice.
With Mimeo Photos, you can add multiple images to the front or interior of a card -- creating your own photo collage -- as well as include personalized text.
Be sure to add all relevant information. This will include:
- Type of event (birthday, baby shower, etc.)
- Address of event
- Date and time
- Special instructions for dress
- Cost (if any)
Go ahead and use fun colors and fonts to make your iPhone invitations pop.
Step 3: Print and Invite
Finally, you need to print your invitations. The cards printed with Mimeo Photos come with envelopes -- giving you one less element to worry about. Once you have your invites in hand, you’re ready to start inviting people to your event.
Remember to plan ahead and prepare your invitations at least a month in advance. This gives you time to adjust the design if needed and to get the invites to everyone you want to come to the event.


